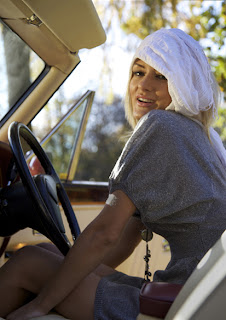
I have chosen to show the work flow for one of the images, and I will also include 1 image printed on the college computer and 1 image from my home printer to show the comparison.
Here is the workflow for my chosen image.
This is a JPG version of the original RAW image in the camera, the reason for the jpg image is to load onto this blog. A polariser filter was used in natural light.
Here is a comparison of the image in 2 different forms to show the difference in the beginning of the post production. I do attempt to get the best image in the camera that I can to eliminate alot of post production work.
Here is the next image which shows the cropping I have chosen, which is to A3 proportions, along with some cloning to elimate the obstacles that do not add to the image eg the door pillar. Perhaps a slightly different view could have eliminated the door pillar for example in the original image to avoid some post treatment works.
This is the next part of the sequence where an adjustment was done in curves in this instance. there are many other means to achieve the desired effect eg addtional layers to alter the image, levels, colour management measures etc..
This shows how I achieved my final image with a final crop to tidy up any points that detract from the main theme of the image.
Please refer to my blog dated Monday 8th November 2010, which covers the day of the car shoot. This also shows my reserarch into car/model photography. The main influences were from Manfred Reinfried and Gabriele Rigon. I choose the above images based upon an adaption of the images that these photographers produced and shown on the previous blog. I would like to redo these images later on the year as November is perhaps not the best time of the year to do this sort of shoot, although we had glorious sunshine all day. we did use additinal lighting which is noted in other blogs below.
I will be printing off my home printer to show how this printer performs in relation to the printer used at College. At home I use compatible inks with Tesco Super glossy A4 inkjet photo paper (260gsm) which provides an acceptable print, but is not up to exhibition standard. At college I will be using a HP Photosmart B9180 printer, which is calibrated from the monitor, to the printer to the paper used. The paper used HP Satin Matt A3+ 250g/m2(Q5462A) which produces an exhibition quality print.
and here is the final image
EMMA
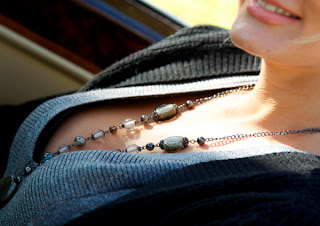
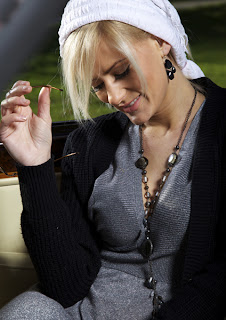
Set out below are the other final 9 images to complete the set. A similar workflow has been done on these to that above.
This also shows some of the jewellery that Emma was using. I had a separate theme to this one of Emma herself.
I have provided an A2 portfolio with the above prints slipped inside. The presentation of these images is to illustrate the final putcome of the workflow, from idea through planning, costing, preplanning of the shoot amnd finally the shoot itself. From there the images have been downloaded and produced and are now set out in the portfolio.


Crikey Mrs Gaff what's all this???
ReplyDeleteHelp Mr Bluesparkz, have I done it wrong, is it not clear what i have done, do i have to do it all again?//???//??? help i am in a panic to get this all done
ReplyDeleteEric
ReplyDeleteFinal image is spot on, nice skin tones and great detail which must have been difficult through the window of the car.
Robert
You're a good photographer ! I like the photos. do you print on inkjet photo paper ?
ReplyDelete